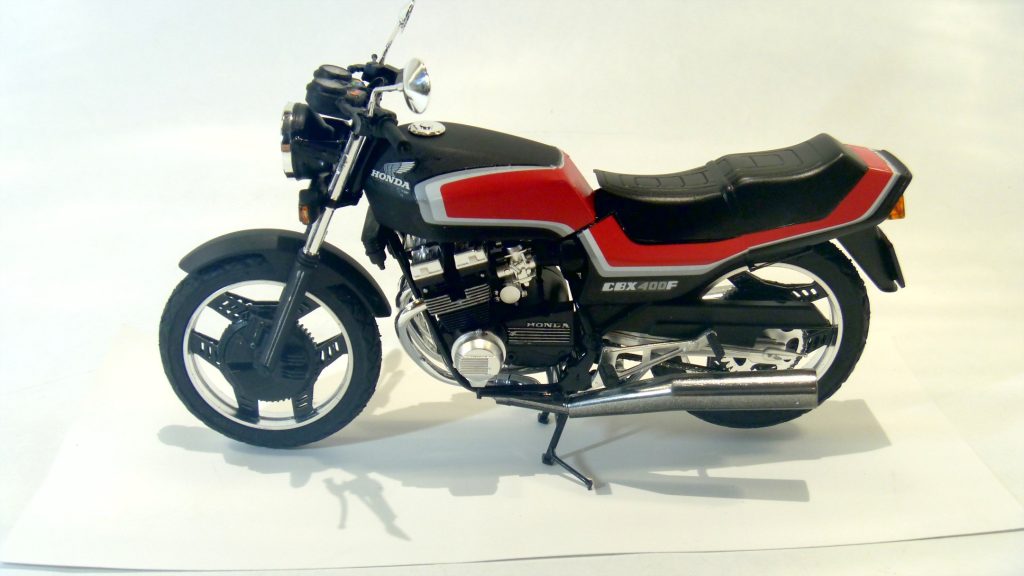
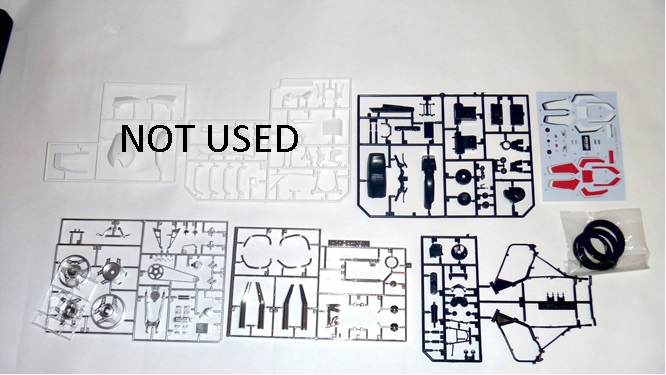
Mike Crespi builds & reviews this Aoshima motorcycle: I’ve been under the impression that Aoshima kits are pretty close to Tamiya kits in quality. Well this will be my first Aoshima to build. I will be building this kit box stock as there are no aftermarket detail kits for it and I can’t find anything on the 1:1 bike for detailing information. I just have the instructions and box art. Here is a picture of everything laid out that comes in the box:
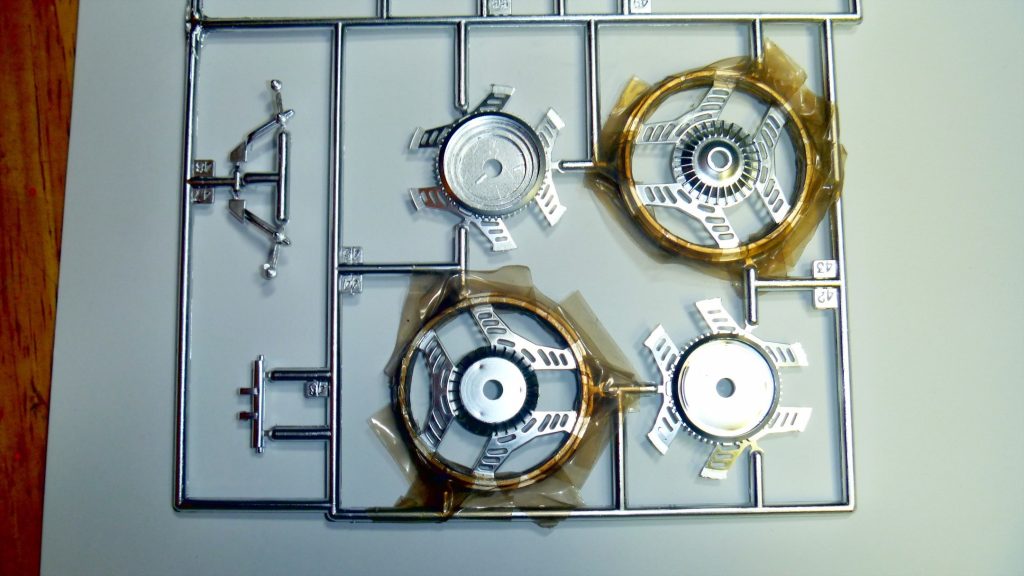
Well, the first step is assembling the wheels. So the wheel centers and spokes have to be painted semi- gloss black. This requires some tricky masking of the rim. See Figure 2.
Looks like the masking worked pretty well. I sprayed the semi-gloss black and removed the masking. I had to then put back the silver radial lines from the cooling fins on the wheel. That was real easy with a Molotow pen. See Fig 3:
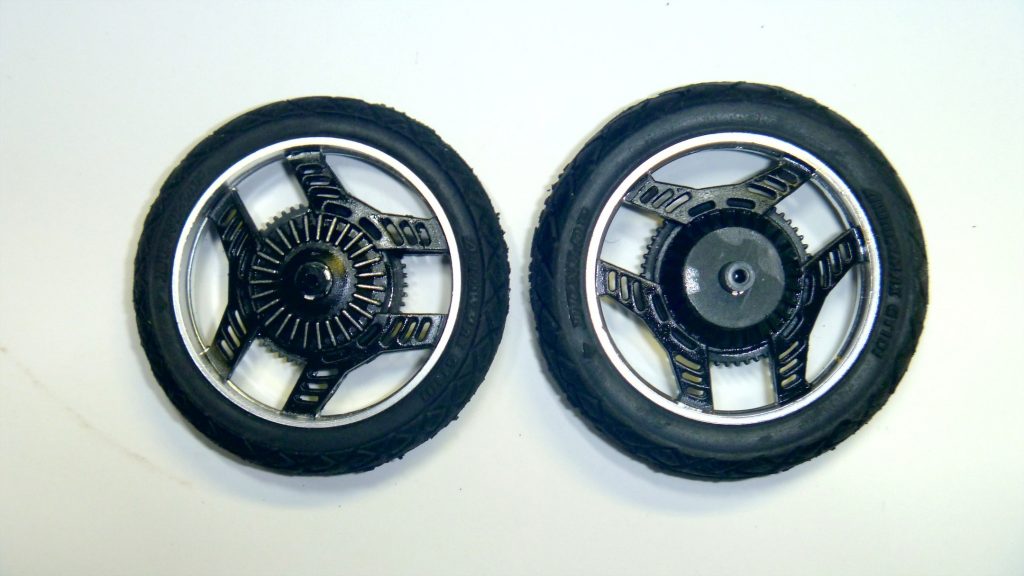
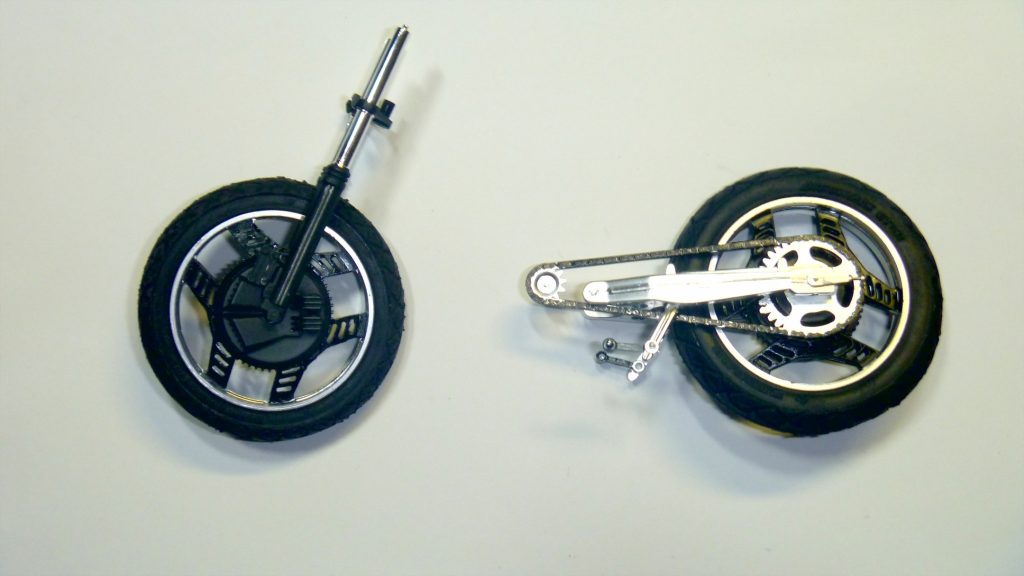
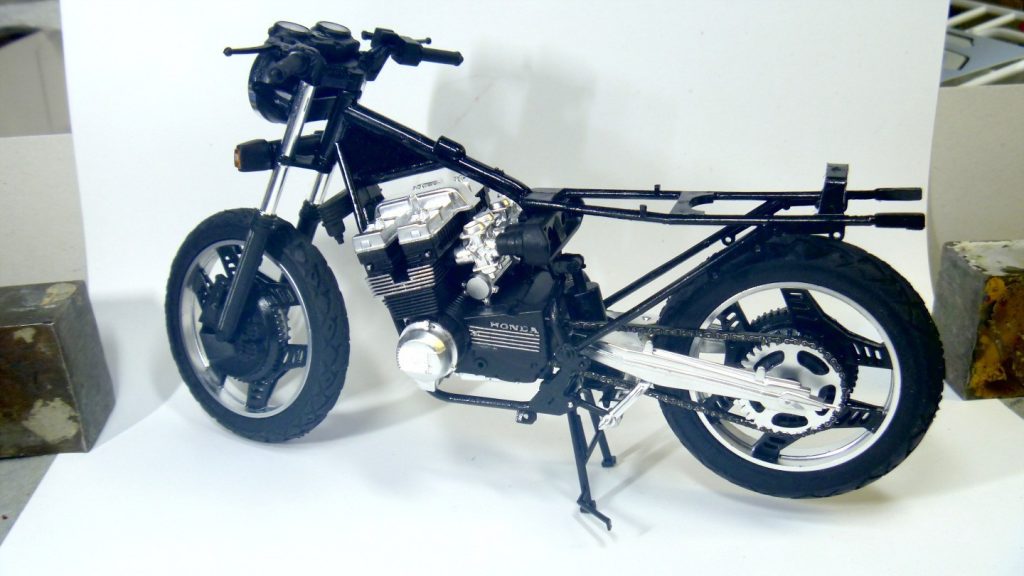
Well, I can see now that these kits do not compare to Tamiya kits. They lack detail. The chain only has the links molded on the outside. Tamiya has the links molded on all four sides of the chain. Tamiya kits are way better. But so far this kit has been building easily. Below are the wheels installed on the front fork and rear swing arm. The swing arm has some nice sink marks. See Figure 4.

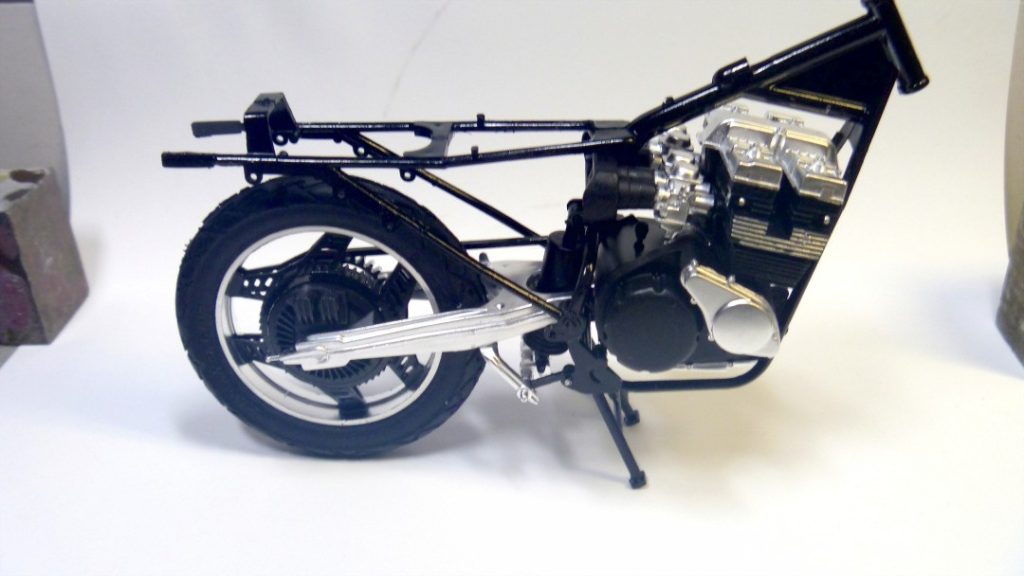
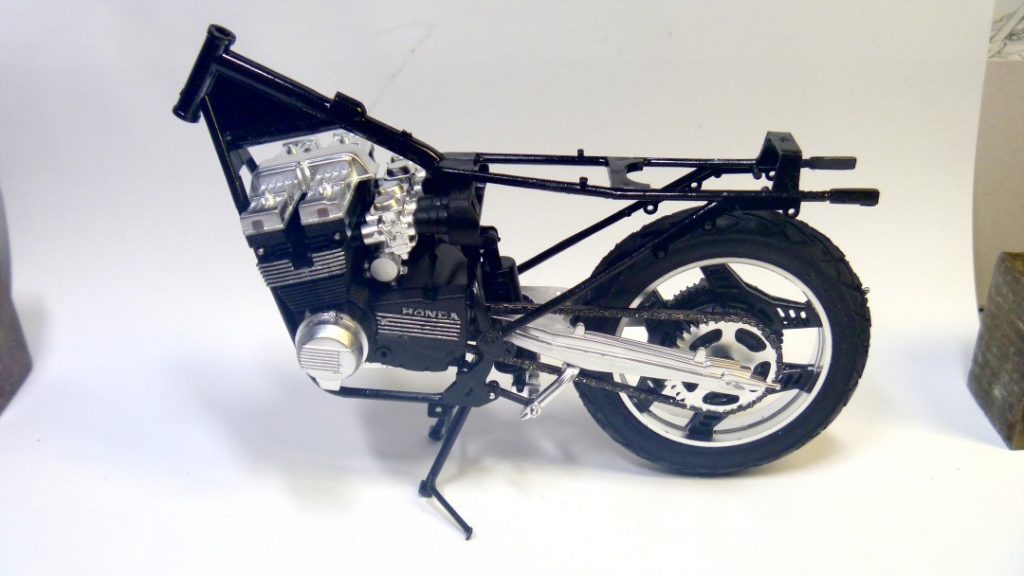
Now I’m getting somewhere. I have the rear suspension and the engine attached to the frame. This kit does assemble easy enough and the parts fit together well. But there are sink marks in the rear swing arm. See Figures 6 and 7:
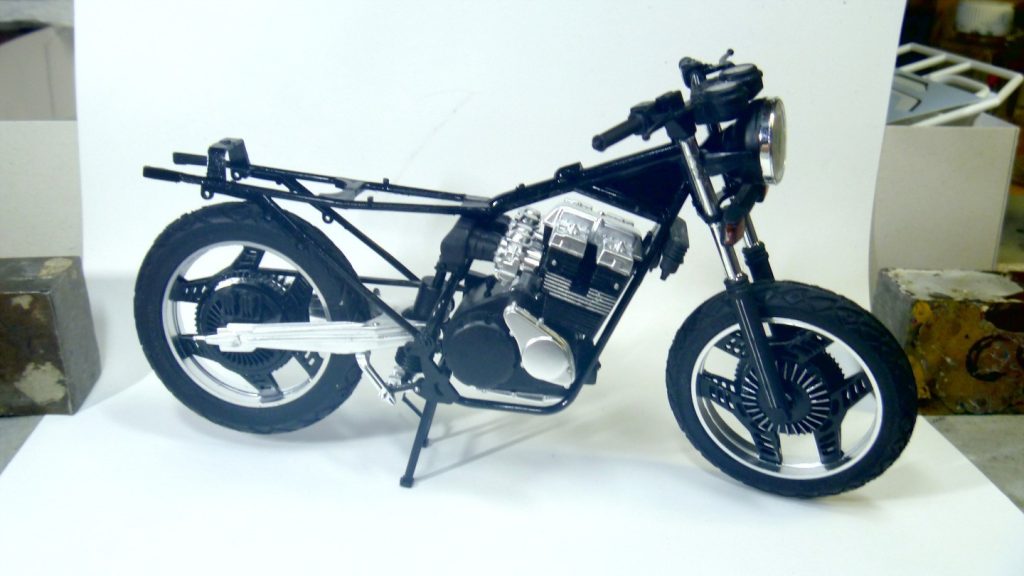
Now I have the fork installed with the headlight and front turn signal assembly. I used BMF for the reflector in the turn signals and used Molotow Chrome for the reflector in the headlamp assembly. So far everything has been easy to assemble. See Figures 8 & 9 below:
I glued the exhaust system together. The mufflers were done in two haves. The chrome quality is very nice but having a glue seem down the center was quite unsightly. I tried to get away with Molotow chrome but it looked bad. So I did sanding and used AlClad Chrome which came out pretty good. See Figure 10:
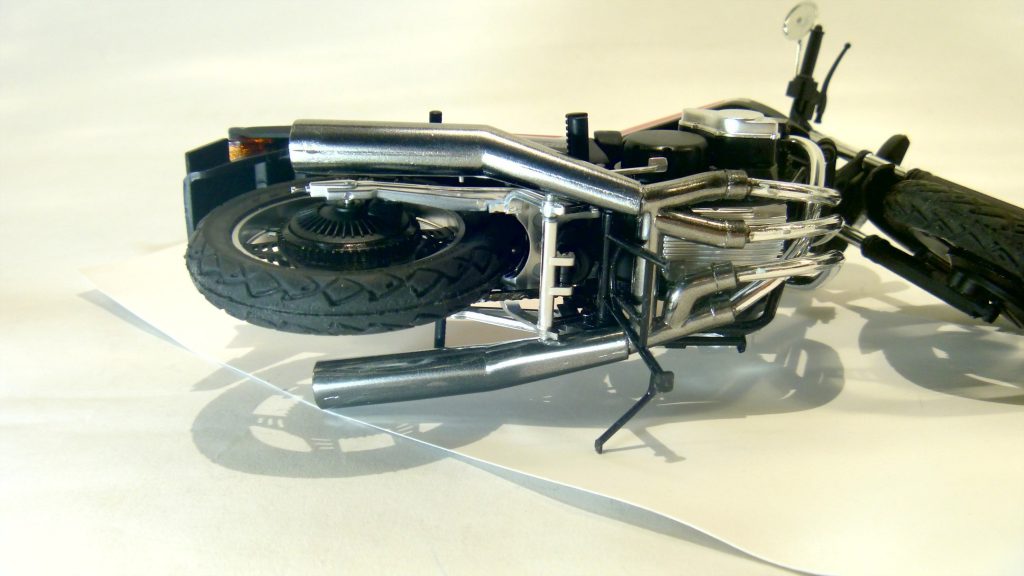
It sure wasn’t easy gluing the exhaust system to the bike. There were a couple of holes on the inboard side of the mufflers that went onto pins on the frame. But it has four individual header pipes that went from the crossover assembly to the engine block. Only the two inside cylinders had rings for the pipes to fit into.
Then I assembled the seat and gas tank to the frame. The seat had a few fairing parts around the back and sides. And after all that was done I applied the decals. They came off the sheet fairly quickly. I didn’t do a perfect job either. That last thing I did were the side view mirrors and the license plate frame. The mirrors have some nice sink marks right in the middle. All in all I was not really enthusiastic about this kit as it did not meet up to the standards of the Tamiya motorcycles I’ve built Here is a finished photo:
